Showing posts with label Gifts. Show all posts

Wednesday, December 25, 2013

X-mas Ornament : Christmas Tree

I couldn't send a cake or cookies to you this year, so I've made these videos just for you ;) .. 
Merry Christmas, my dearest friends!


Peace, Joy and Love!


Thursday, November 28, 2013

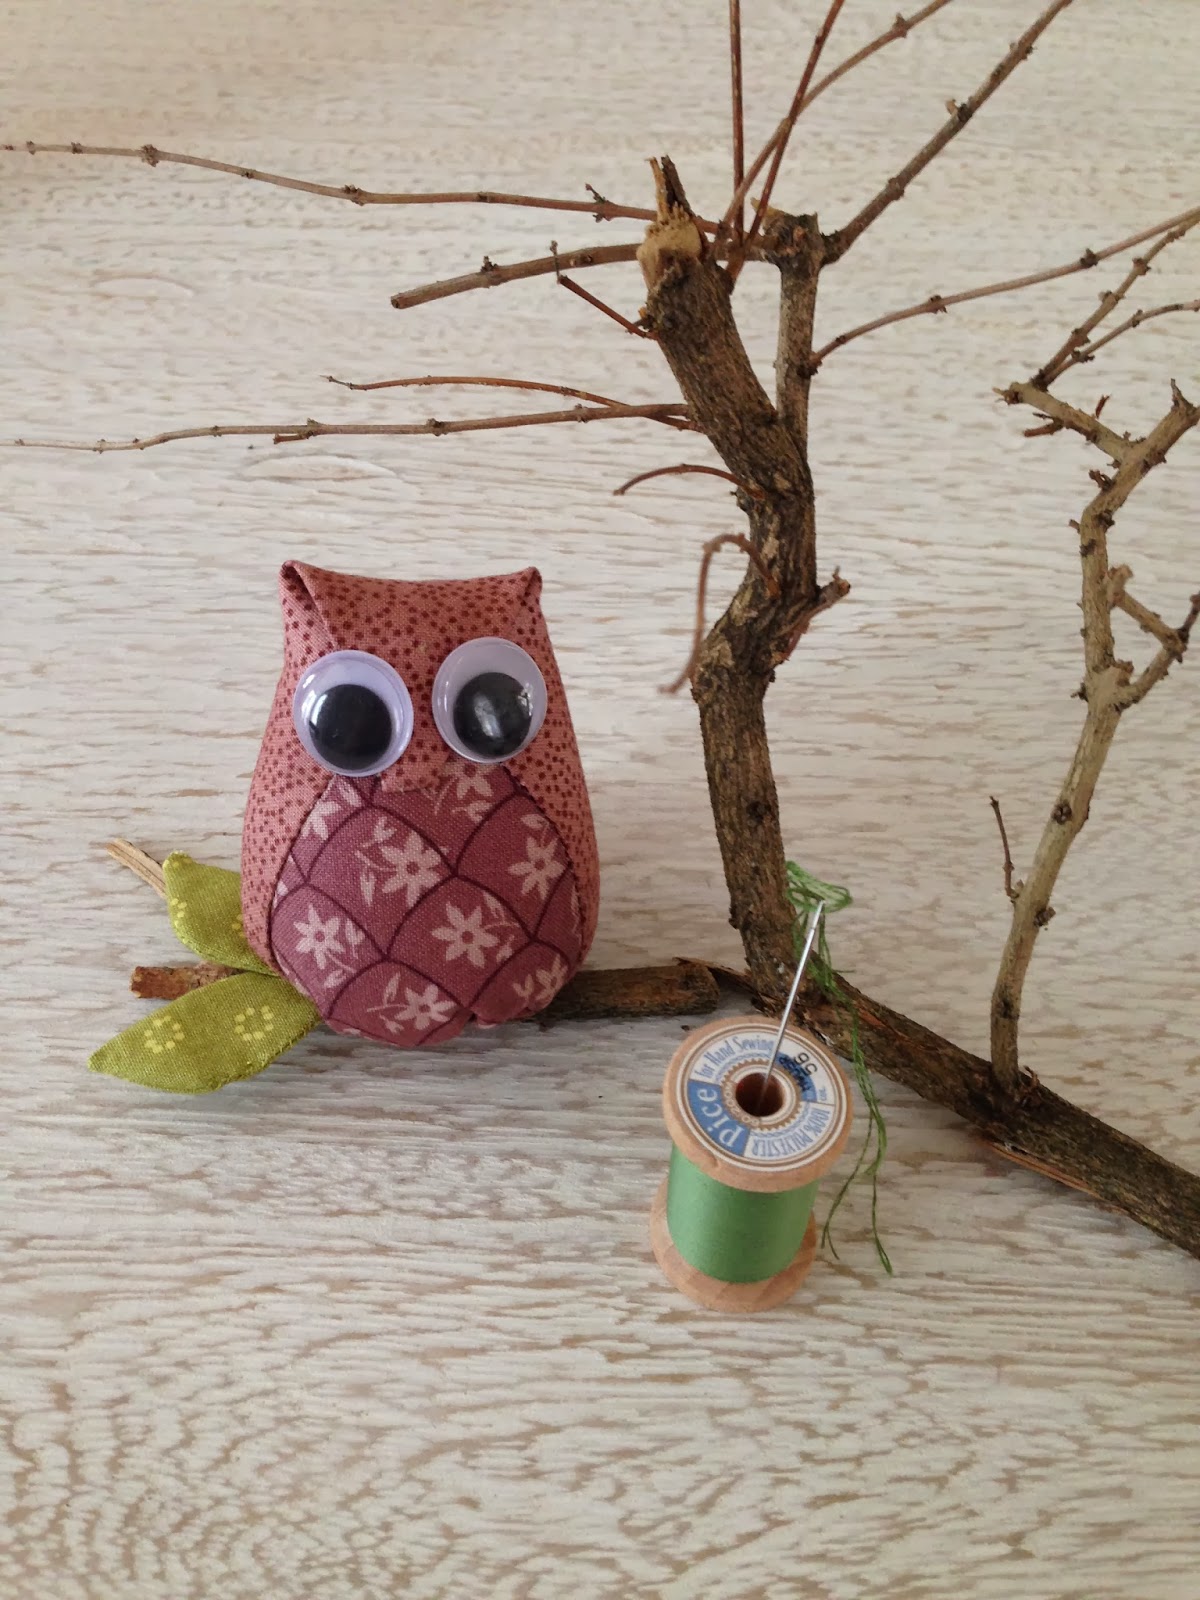
Cute Lil' Owl

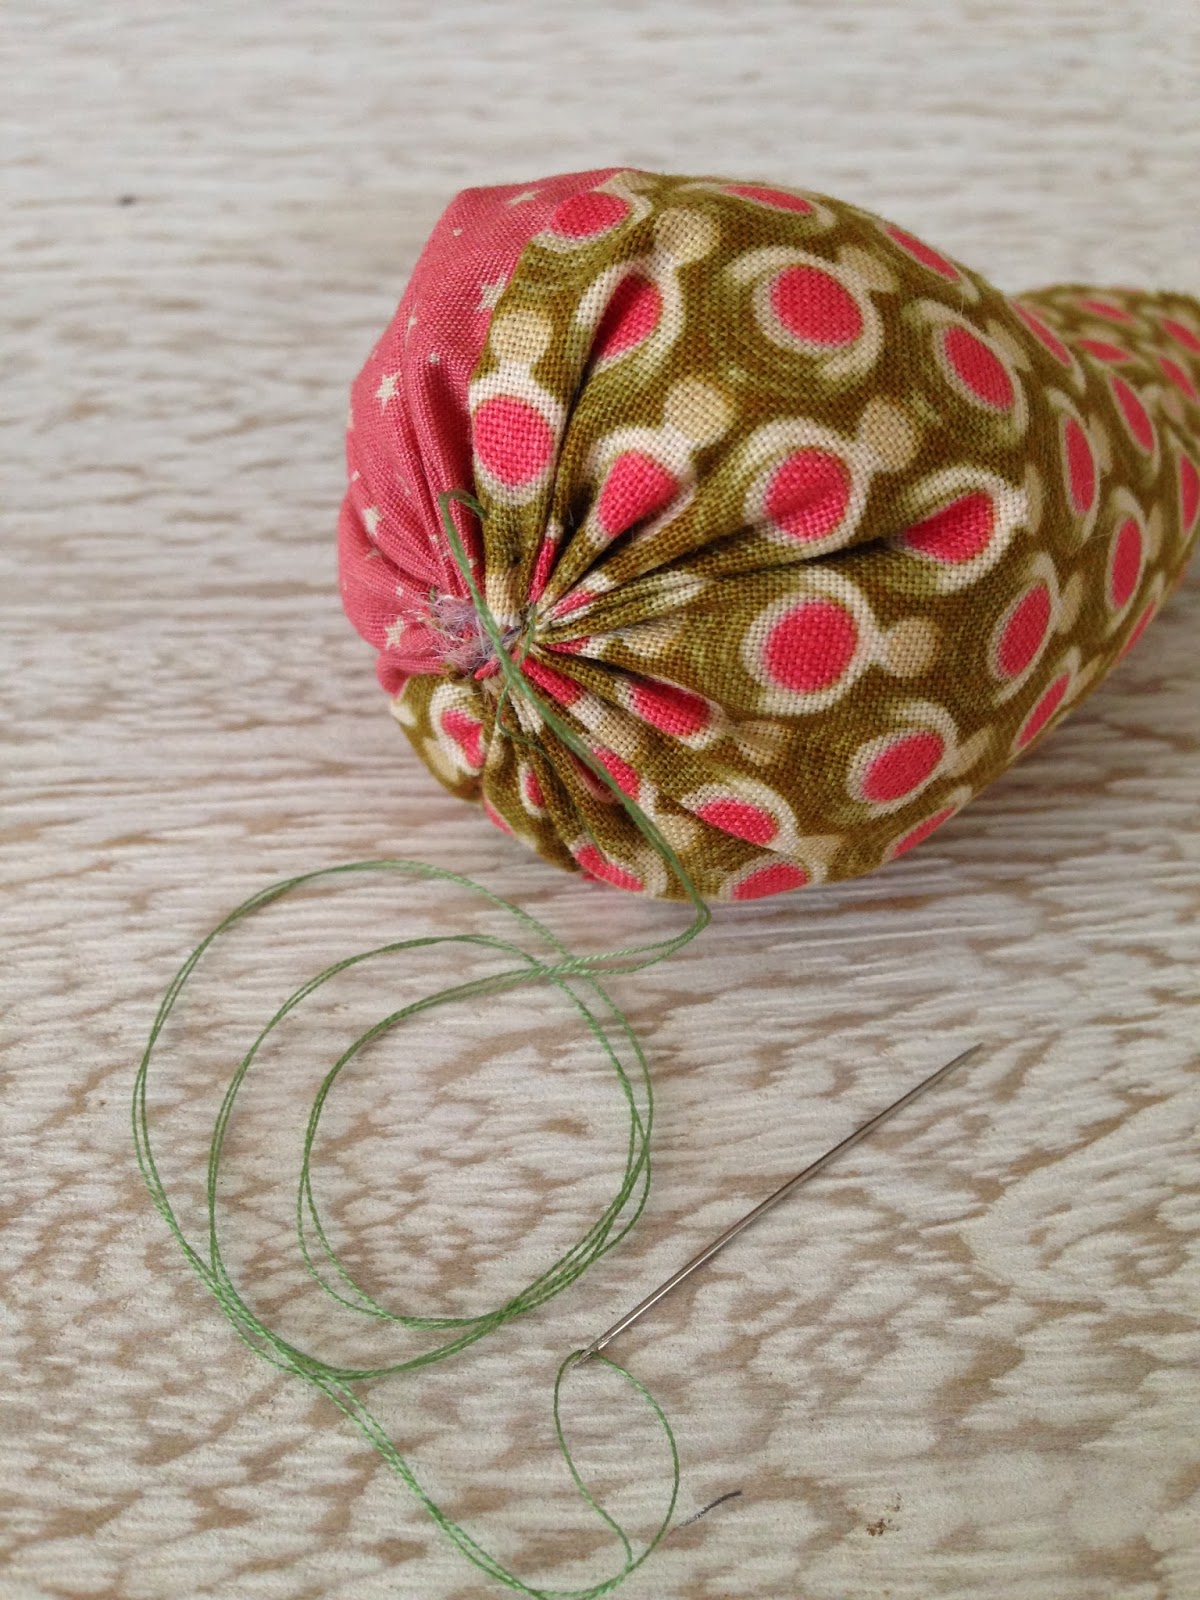
Tutorial through some pictures, hopefully these steps are easy to understand.


Cute Lil' Owl

Thursday, October 17, 2013

X-mas Ornament : Angels.

You know what's a great gift you can give for your friends or family? I think something that you make by yourself will be a great gift .. 2 months until Christmas.. Still have a lot of time!

I don't celebrate Christmas but I just love to share an idea for those who celebrate it, especially for my quilting friends.. (I forgot where I've seen this angel ornament, but I do remember how it looks).


You need:
2 Different of fabrics 15cm x 15cm (robes).
2 Felt 12cm x 14 cm (wings).
1 Broken white fabric 8cm x 8cm (head).
1 Felt 4cm x 4cm (head).
1 cardboard 3,5cm diameter.
Gold ribbon & gold thread.


Have you seen "You've Got Mail"? I watched that movie more then a hundred times (LOL).
This morning, I used my favorite movie CD as a template then I turn it on in the CD player and I watched Tom Hank and Meg Ryan again and continued my crafting.

To make a circle for the angle's robes, find tutorial here.


Fold collar for the robes and stitch together in the middle. Sew 2 heart shape of felt with running stitch to make angel's wings. For the head make yo-yo and fill it with felt and cardboard.


Put ribbon on the head, draw eyes (used waterproof pen) and give a little face powder on the cheek.
Put the robes on the wing and the head on upper of the collar. You can sew or use glue to put them together.

Sew a long thread on the top of the head to hang these cute angels on your christmas tree.


The best scene with a lovely song...

Friday, October 04, 2013

Little House on Needlebook.

Don't throw away the small pieces of your fabric or laces, especially if it's a nice one. I made this needlebook from scraps that I kept.
I will bring my needle book to the quilting workshop at Cipete Quilt Community Gathering and Exhibition on October 6th in Jakarta, can't wait to meet my quilter friends again ;)


 Find tutorial here.


Wednesday, March 20, 2013

Beautiful Life : Made with love for beautiful birthday girl.

Yesterday was my daughter's birthday. She is 15, beautiful and talented girl, she loves art. I promised to make a new quilt for her after I made one for her brother. She loves her first quilt that I made for her long time ago and she still used it sometimes :)

Beautiful Life, I told her : "In your life you should look and feel that around you are beautiful.. enjoy your life, be grateful, care and share to others.. it will make you a part of beautiful things in this life".

I think she understand what was her mommy talking about.. hmmm!

Two days before my daughter's birthday, I cleaned up my sewing room.. organized my things.. tadaaa!

A day before her birthday, need 64 pieces of Flying Geese and 4 pieces of Heart Paper Piecing block for borders !!! 
In that morning, sewed the last border... hohohooo!

Beautiful Life ( when I look and feel around me).

Beautiful night sky with twinkle stars.
Sun shine in a beautiful day.
Beautiful rainbow  shows after rain.
Trees have beautiful colors.

Wind blows, it gives beautiful feeling.
Beautiful home is a simple place,warmth and smell delicious.
Beautiful heart always care and share to others.
Pets are beautiful companions.
Beautiful basket fills with beautiful things.
Flowers and Butterfly are the most beautiful creatures.

After Beautiful Life project done.. a new project pop up in my mind :)


Wednesday, November 21, 2012

Xmas Table Runner

My quilting friends asked for a fun project, they want to make it as a Christmas gift.
I learned "Less Than Traditional" technique when I joined "Cipete Quilt Community Gathering" last month. I love this pattern, easy to make.. and I know my friends are going to love it too!
Tutorial here.
I used two different reds for the top, not because I planned it that way, but I run out the poinsettia fabric. I fussy cut them and I've got only 10 circles.. but thanks God I have another red fabric. And still, it turn out nicely! :)
I liked to make my friends happy when I give them the pattern. So I put my pancake recipe in the middle of the template.
And I told them to make a lot - lot of pancakes if they want to make a blanket.. and we all laughed together!
Hmmm.. should I make a lot of pancake too for this one? ... LoL


Tuesday, November 20, 2012

Tutorial: Less Then Traditional Technique

Less Then Traditional Technique used 2 pattern: circle and square. And we need 2 different fabrics, or you can use more if you like.
I made 6 1/2" circle template and 4 1/2" square template.
Using the circle template, mark the circle on the wrong side of the fabric. 
Place 2 fabric right side together, then sew on the line.
Cut the circle with 1/4" seam allowance.
Mark 11/2" line on the fabric that will be for the top.
Place the square template for your guide when you mark the 11/2" line. 
Cut the line using the sharp scissor. (Only on one side of the fabric!!!)
Then cut all around the seam allowance about 1/2" distance.
Turn all the circle through the hole.
Press them.
Draw the line using the square template on the top side. (Draw only on the side that we will join/sew them)
And place the hole on side that's going to be in the hidden curve.
Pin really well at the same point of your two circles.
Then sew on the line, sew only one curve first.
After flatted the curve on the first row, you can go to the next row.
Sew together first row and second row.
Applique the curves, with hand sewing or machine.

Notes: 
If you notice on the picture above, for the top I used two fabric: red with small motif and red poinsettia flower motif. I will tell you later why I made the circles with two differrent red, wait until this project done ;) 

On the picture below I fussy cut the poinsettia flower, isn't nice?